Creating & Sending Newsletters

Creating & Sending Newsletters
DSMN8s Newletter feature allows you to send custom email newsletters to your employee advocates in a simple and fully customizable format. Using this you will be able to add posts, images links just like you would using any other email creation tool.
Creating Your Newsletter
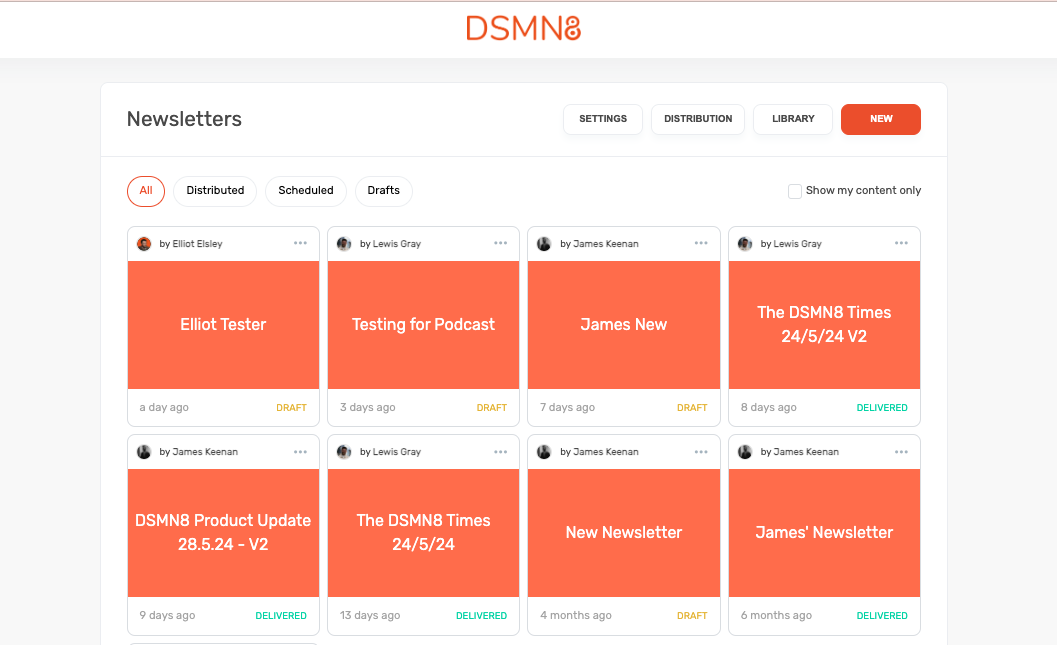
First off, head to your main menu and select the Newsletters Option.
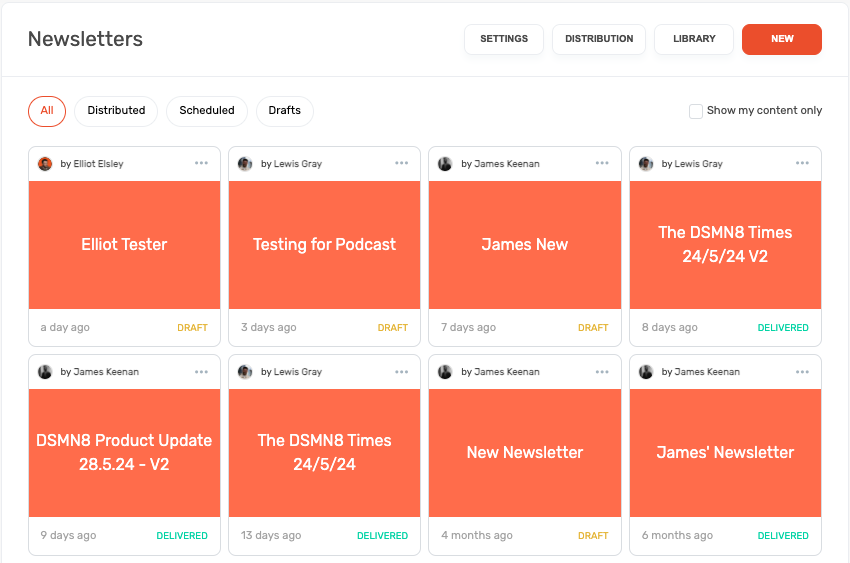
From the main Newsletter page, you can then select New to create a new Newsletter.
Give your Newsletter a name, and select if you would like to use the newsletter you are about to create as a template in the future (You can always create separate templates at another time)
From here, you can begin crafting your newsletter. You will be able to drag and drop the element from the right-hand side to add to your Newsletter.
Multiple Elements can be added to your newsletter For more information on these elements see here:
Text: Type anywhere in the email body to add text, you can adjust the formating and heading using the bar at the top.
Name Variables: Using the person icon in the top right you are able to add "First Name", "Last Name" and "Full Name" variables to your emails.
Headers: This is a banner image at the top of you email (See Library Templates for more information on header templates)
Footers: This is a footer banner image (See Library Templates for more information on footer templates)
Images: Add any images to your email to help with your messaging.
Posts: Add a DSMN8 Post into your email, you will be able to select the post at which point the image Preview Title and Text will automatically be populated.
Boost Posts: If you company utilises boost posts you are able to add these in the same way you would add a post to your newsletter.
Button: Create a custom button to direct users to log in, or other actions you may wish to encourage.
Once you have created your Newsletter you can use the preview button to view how this will look when sent to your employees.
Sending
Once you are happy with the email newletter you have created, press continue.
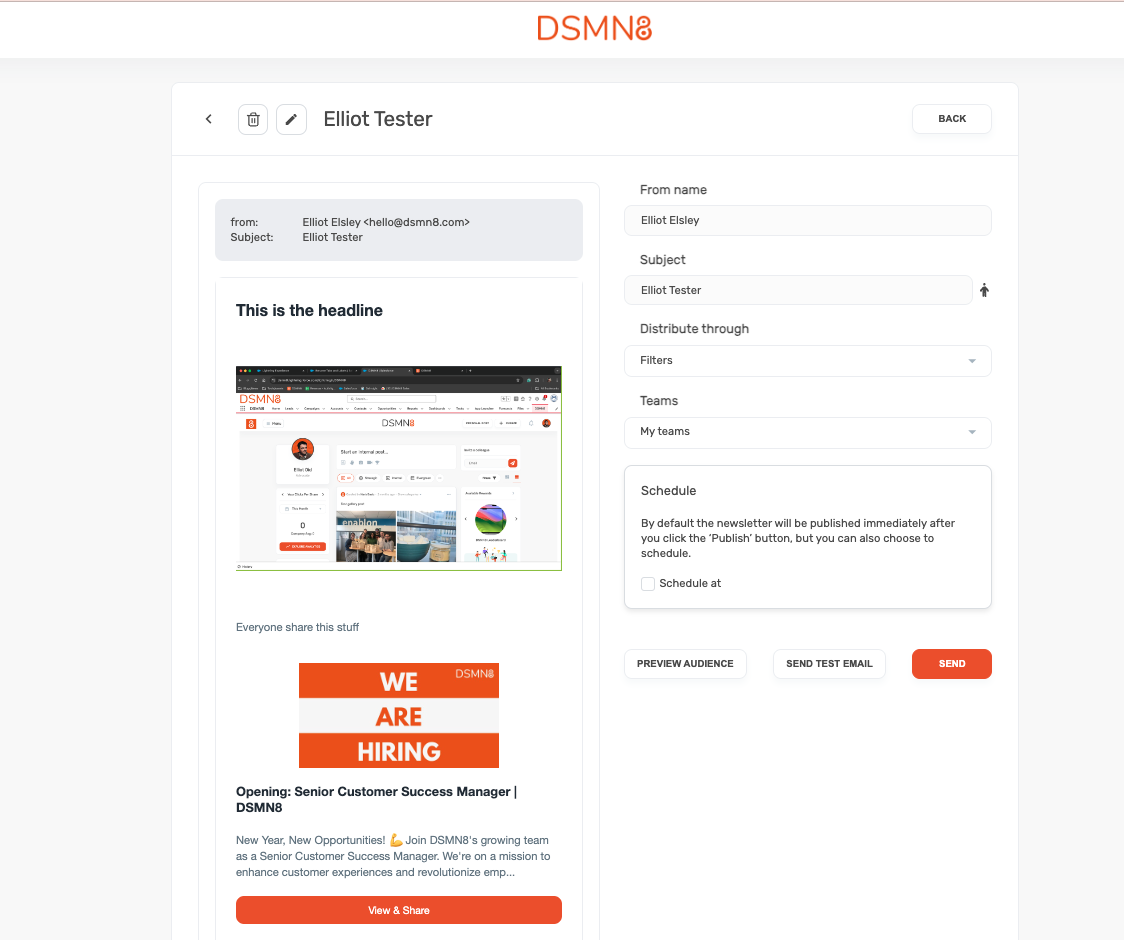
From here you are able to define all of the sending details for your email newsletter including the sender name, subject and the audience you would like to send it to.
From Name: This is the name that will be displayed when employees receive the email as to who it was sent from. You could add your own name, or your advocacy programs identity here.
Subject: This is the subject of your email ( You are also able to add variables here as seen above using the icon)
Teams: As you would when curating content you are able to define which teams you would like to send the email to. This uses the same process as curating content, if you select a team, users will need to be in both of these to receive the email. (Note: you are able to use the Preview Audience to validate this)
Schedule: Should you wish to send your email at a select time or date you are able to use this to choose when your email will be sent. If you do not schedule an email it will be sent immediately upon pressing send.
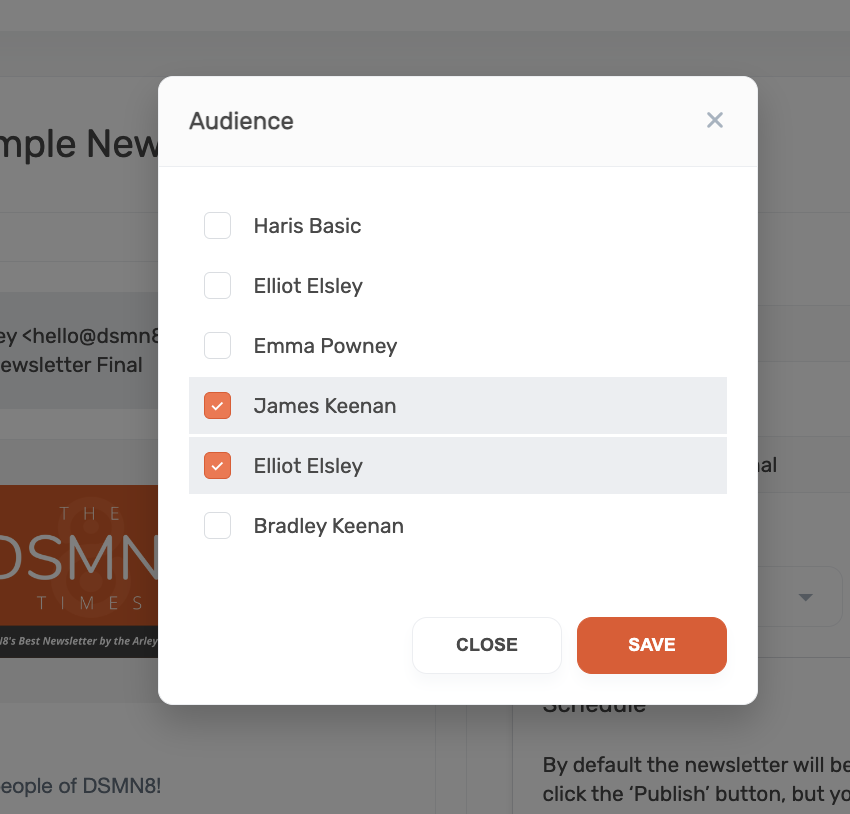
Preview Audience: Should you want to double check who your email will be sent to, you can use the preview audience button to review the users you are sending the preview to. You are able to select/deselect users at this point.
Send Test Email: Should you wish to send a test email to yourself to confirm how your email will look when other receive it you can press the send test email option and add email addresses in you would like to receive the test.
Congratulations. You can now press send and send your Newsletter out to your selected audience.
Creating Distribution Lists
Newsletter administrators and team leaders now have the ability to create custom distribution lists. This allows you to create more targeted lists of recipients, rather than simply sending newsletters to entire teams. To create a new distribution list, administrators or team leaders need to click 'distribution' from the newsletter home page, seen below.
Here, administrators and team leaders will be able to see all currently active distribution lists that they have created, as well as edit as they see fit from this page. To create a new distribution list, administrators and team leaders firstly need to name their distribution list and then select the users they want to add to their distribution list.
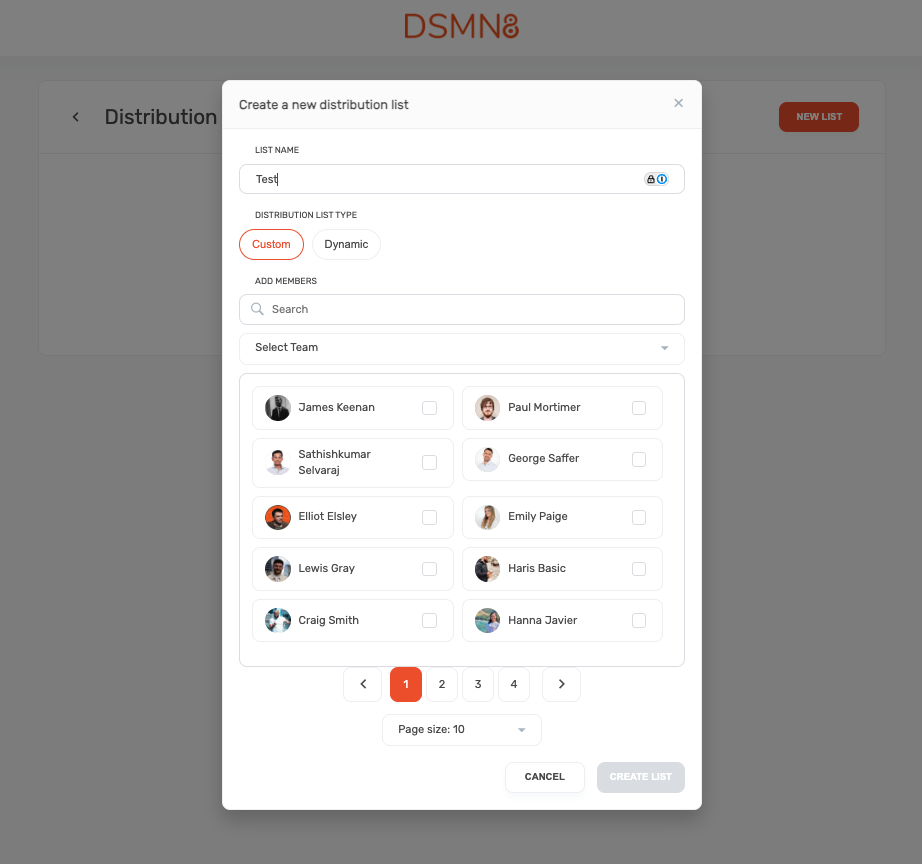
Here, administrators and team leaders can search for members or pick specific teams that they wish to add to their distribution list. Members can also be excluded from the distribution list at the time of sending a newsletter. Once the distribution list has been created, this will be added to the administrator or team leaders' list of options when sending a newsletter.
Dynamic Distribution Lists
Dynamic distribution lists allow administrators and team leaders to quickly create a distribution list from handy presets. These lists are dynamic, so are automatically updated and will change over time.
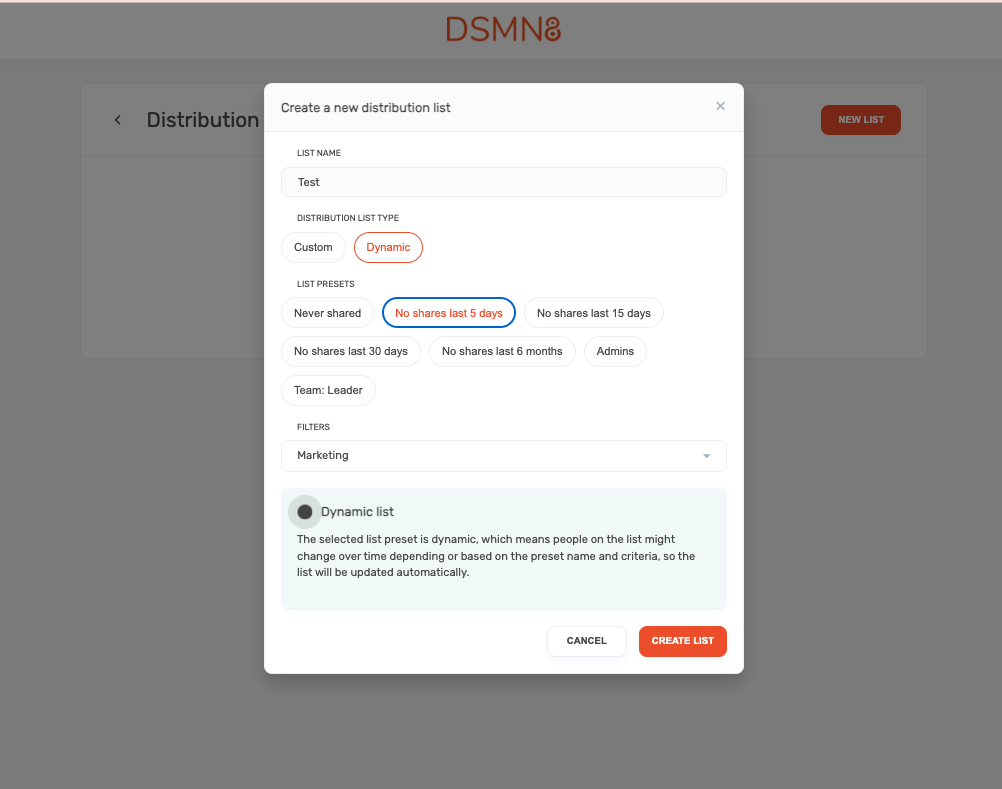
As seen above, we have embedded various preset options for targeting users across the following criteria:
- Registered users who have never shared from the platform
- Registered Users who have not shared in the last 5 days
- Registered Users who have not shared in the last 15 days
- Registered Users who have not shared in the last 30 days
- Registered Users who have not shared in the last 6 months
As well as the preset options, administrators can leverage the distribution lists to send content to all other platform admins or all newsletter team leaders, as well as creating distribution lists from existing teams.
Analytics
Once you have sent your email you will be able to see all of the analytics for your email. For more details on Newsletter Analytics See Here.