Newsletter Elements

There are a number of Elements that can be added to a newsletter that you are creating.
Below is an outline of each of these elements and what they can be used for within the newsletter
Text:
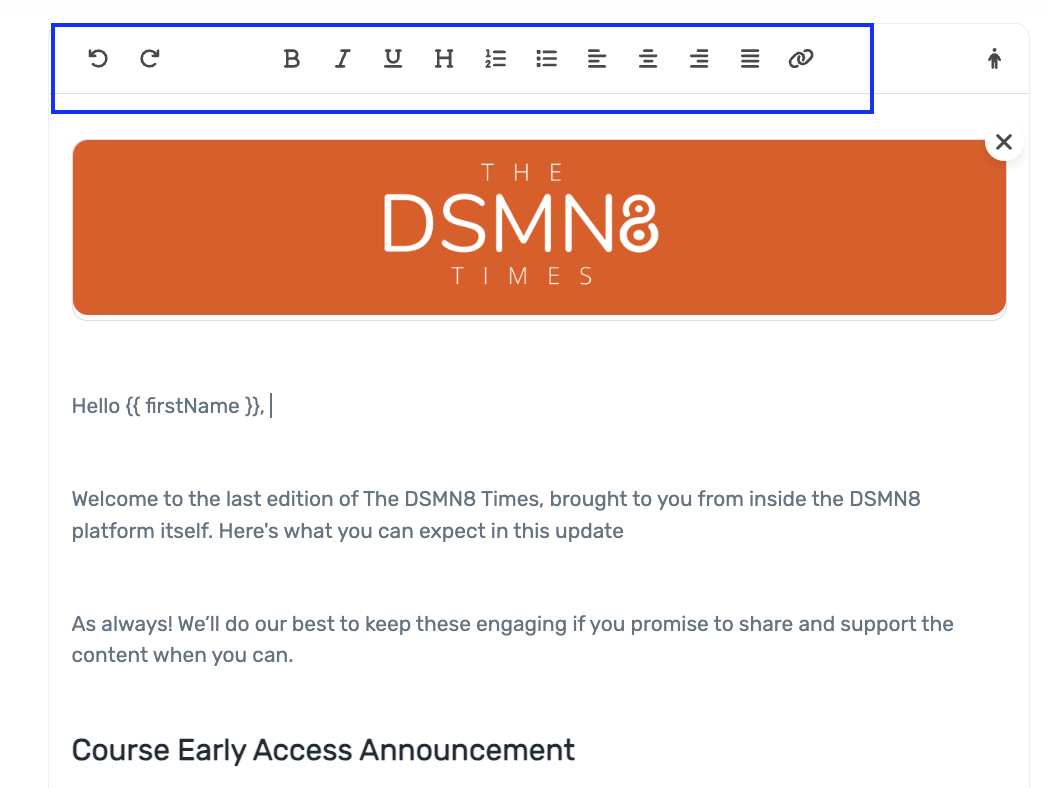
Text can be added anywhere in the body of the Newsletter you are creating. You are able to to format all of your text using the formatting bar at the top of the newsletter creator. From here you can add links, headers as well as any changes you may wish to make.
Name Variables:
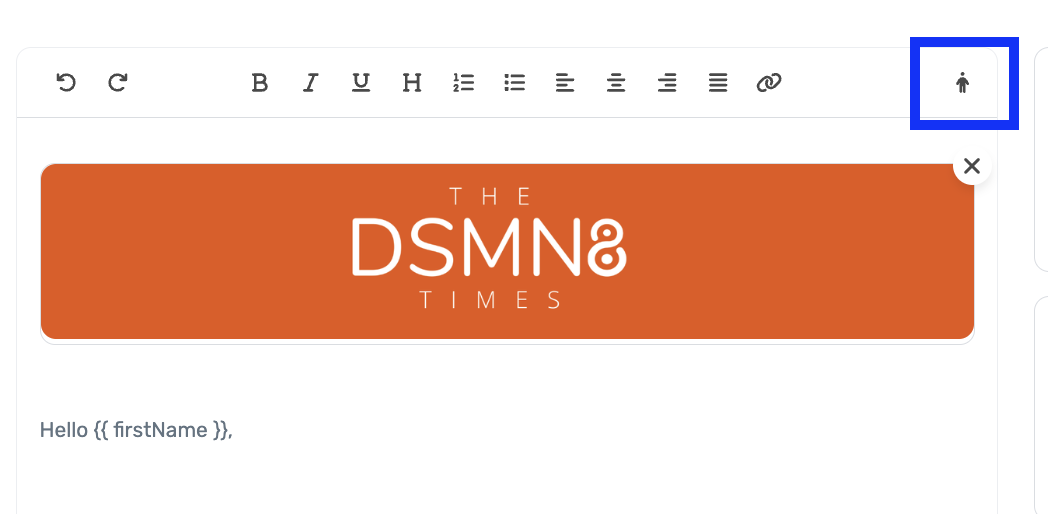
Within the body of your text (And in subject lines) you are able to add name variables to the Email newsletters you are sending. This helps create a more personalised experience for your Users.
To do this use the Person Icon at the top of your formatting bar.
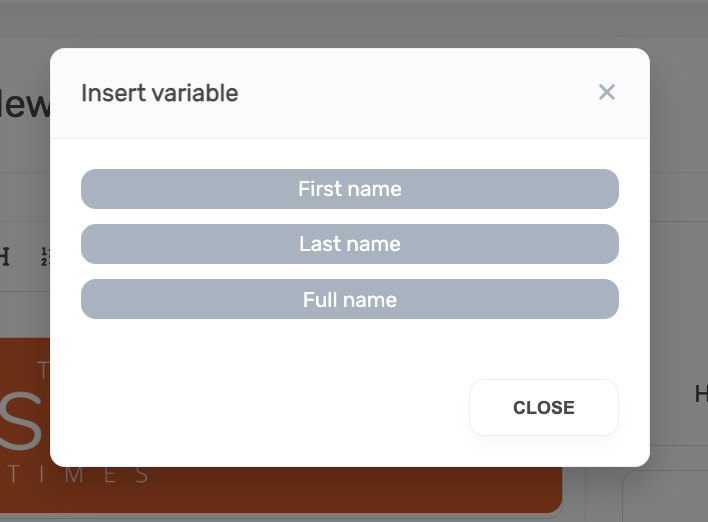
When you select this option you will be able to select the variable you would like to add to your newsletter. You can choose from First Name, Last Name & Full Name. This will be the name of the person who is receiving the email.
Headers:
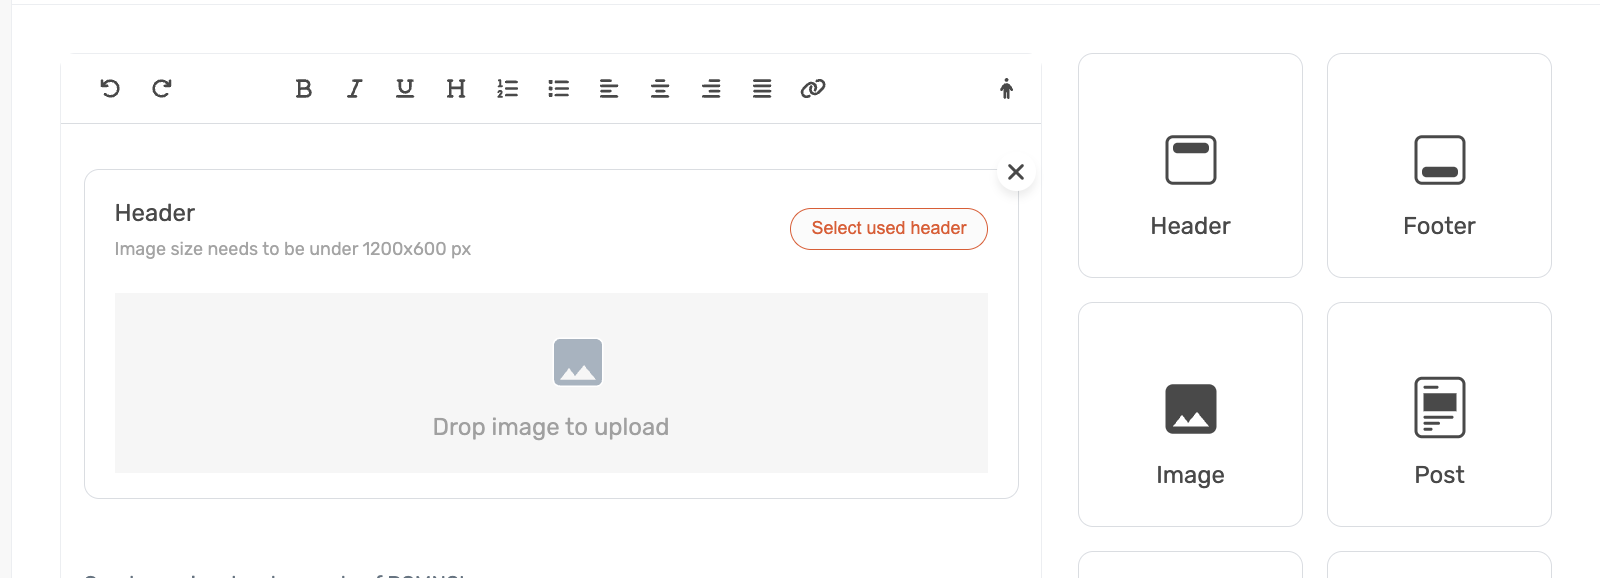
Header Images act as a banner for your email. These can be uploaded directly when creating a Newsletter, or alternatively, you can select from template headers that have already been created in your account.
Headers should be no more than 1200x600px. Our recommended size is 550x100
Please note only one header can be added to a Newsletter at a time.
Footers:
Footers are the lower banner image for your email. Only one footer can be added to each newsletter you create. these are not necessary, but nice to round off an email.
You are able to upload a footer directly or use one of the template footers that may already be saved in your account.
Footers should be no more than 1200x600px. Our recommended size is 550x100
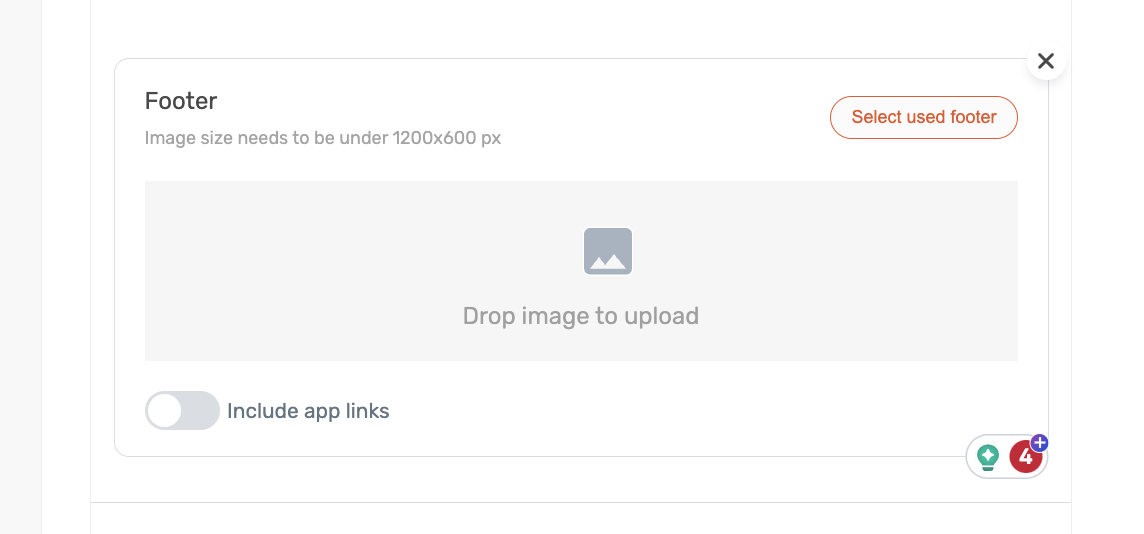
When adding a Footer you are also able to include app links. This will add links to the DSMN8 applications in the IOS & Android Stores
Images:
Images can be added to your Newsletter emails to help add more context or information for your employees that will be receiving the Newsletter. These are a great way to add more to your email it might be celebrating a win, highlighting results or anything else.
Images have no constraints on aspect ratio and any image can be added directly from your computer.
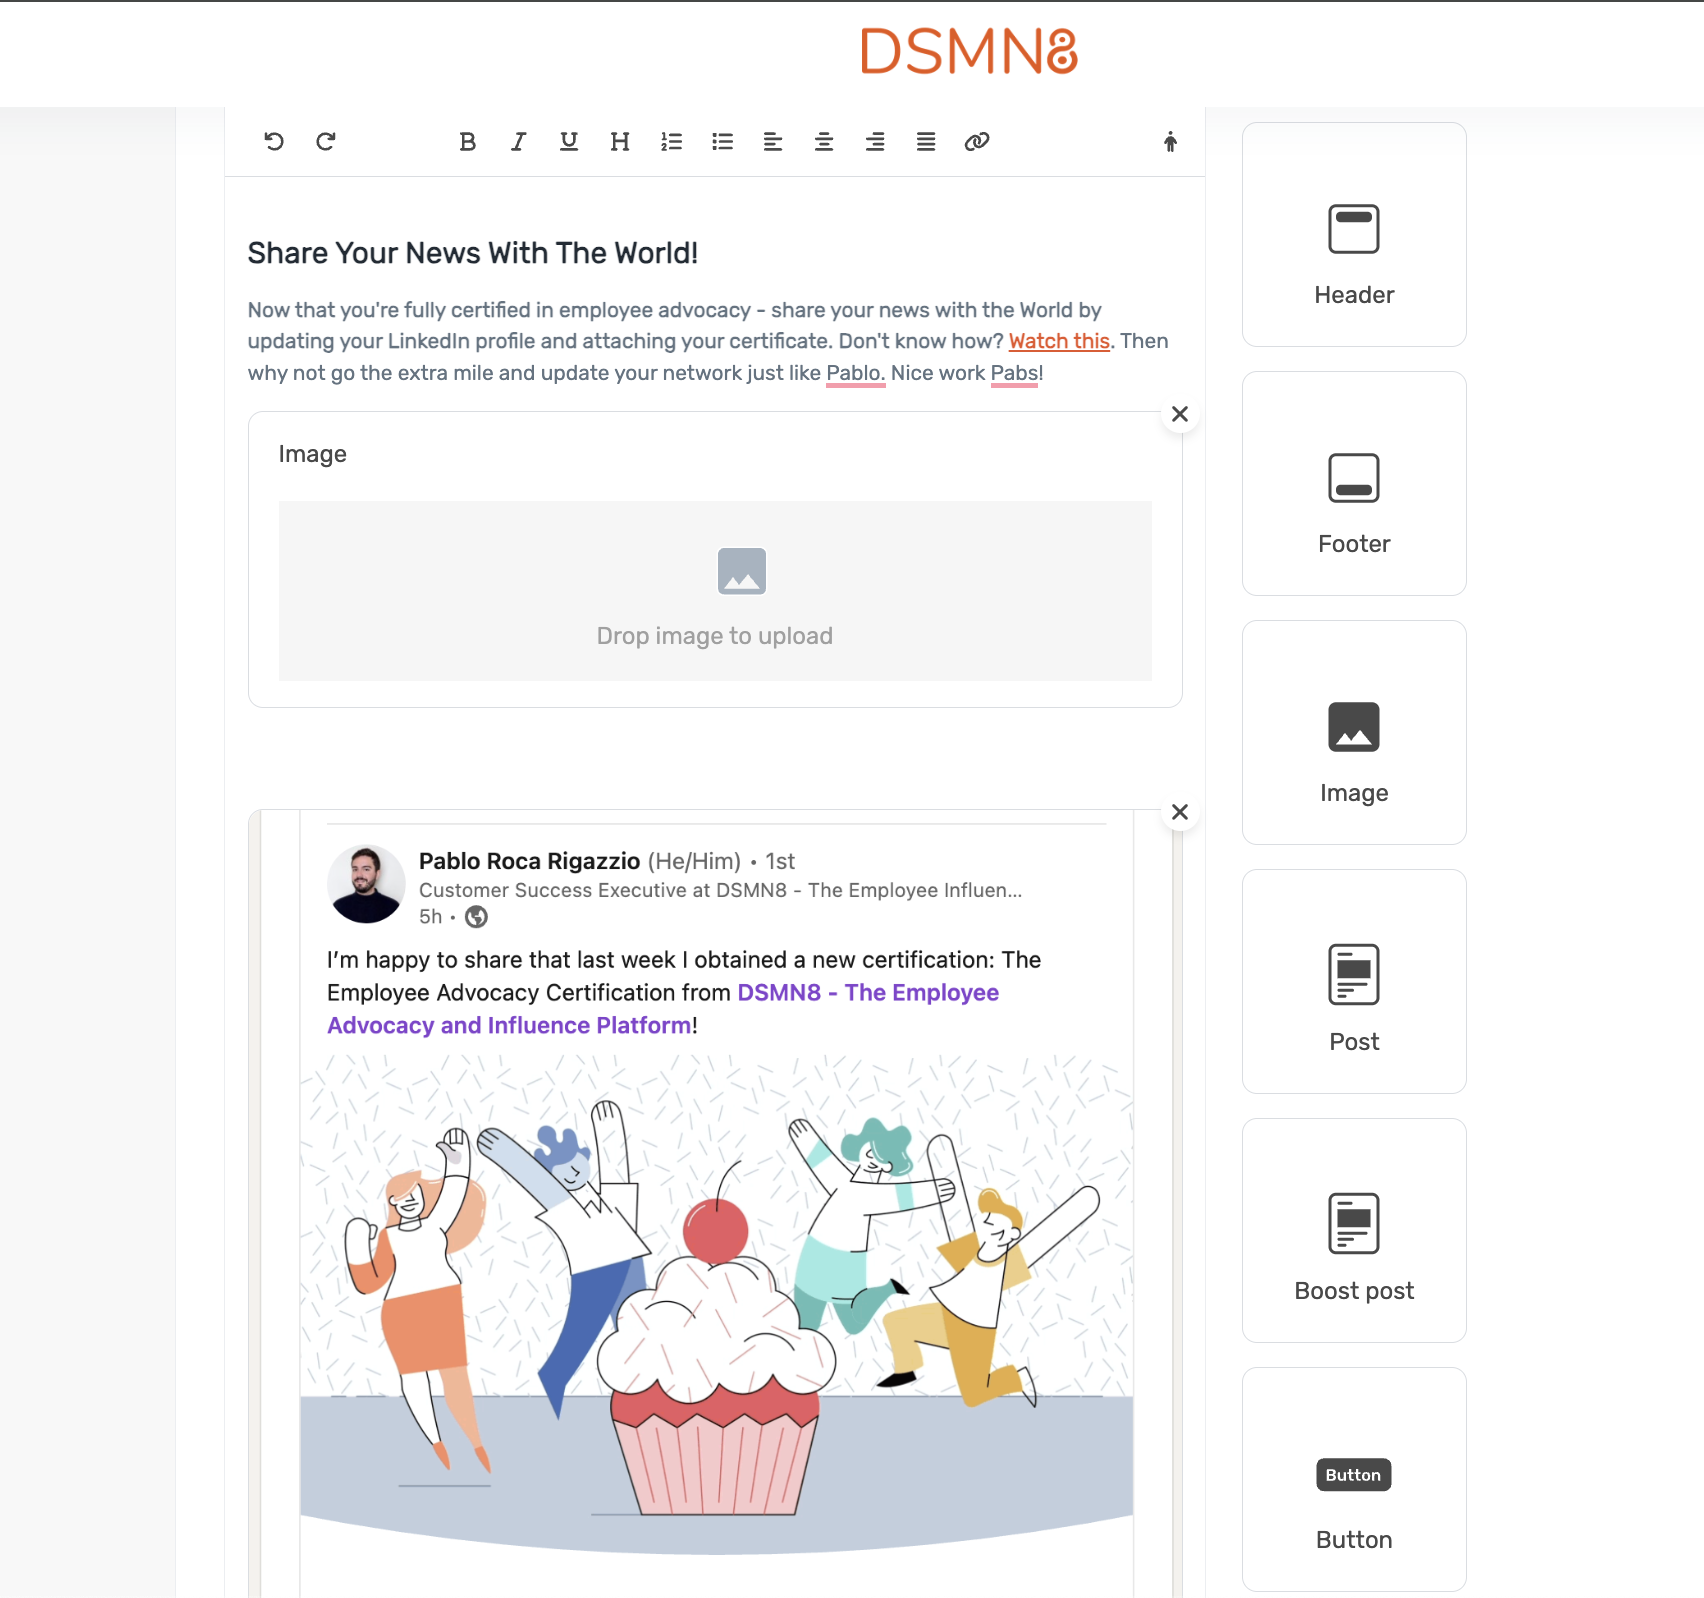
Posts
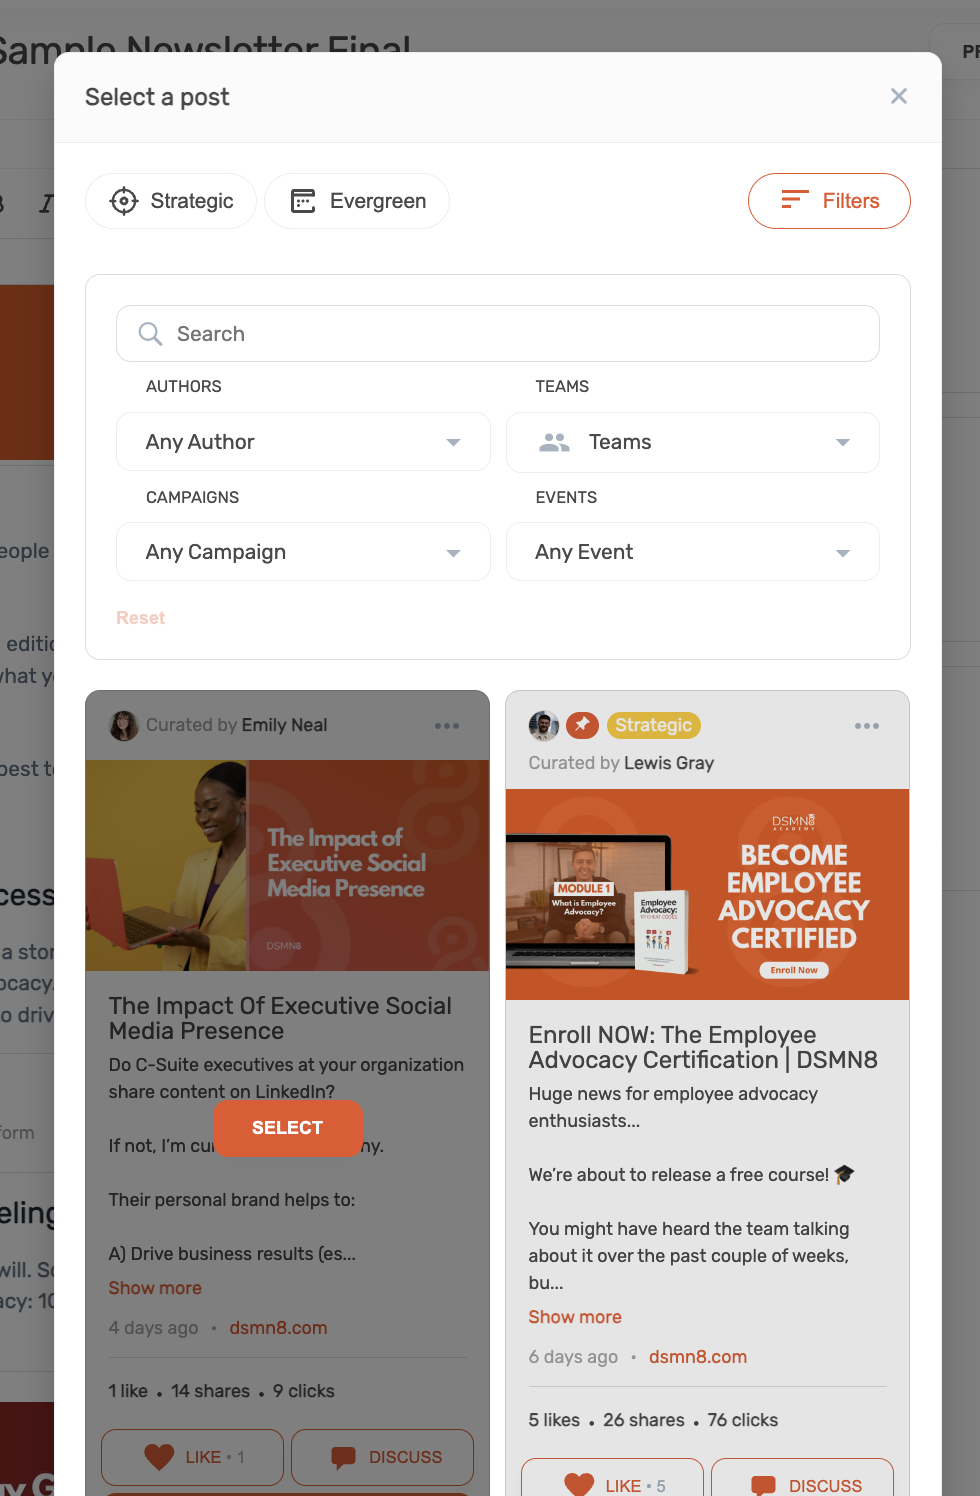
You are able to add any post that has been curated into your newsletter. Simply drag the post element into your email. From there you will be able to select any posts in the platform to add, even if you didn't curate them, or they are outside your team, everything is available.
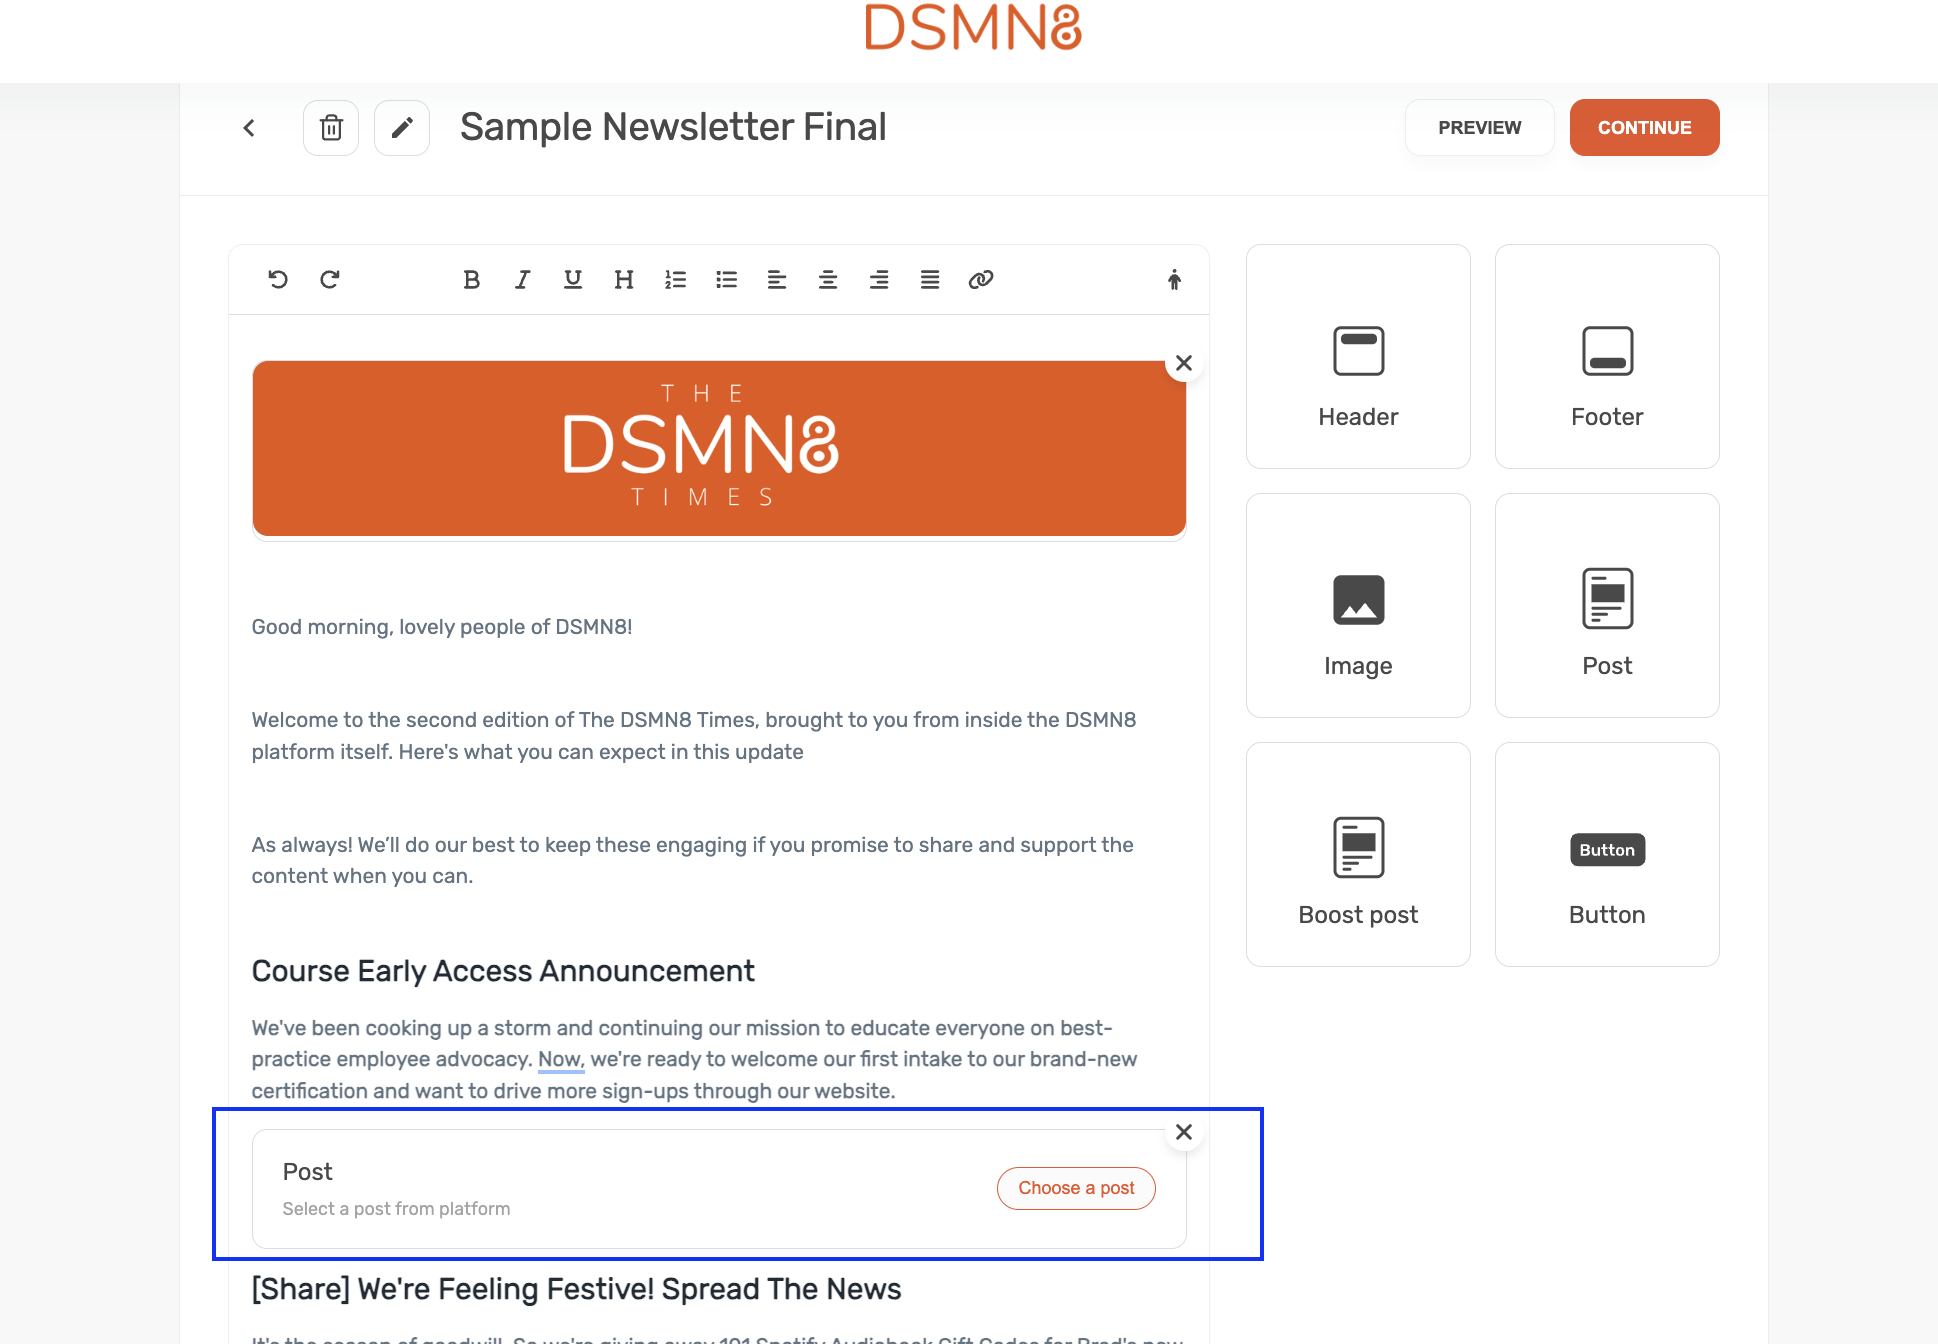
Select Your Post. You can use the filters to search for content if needed.
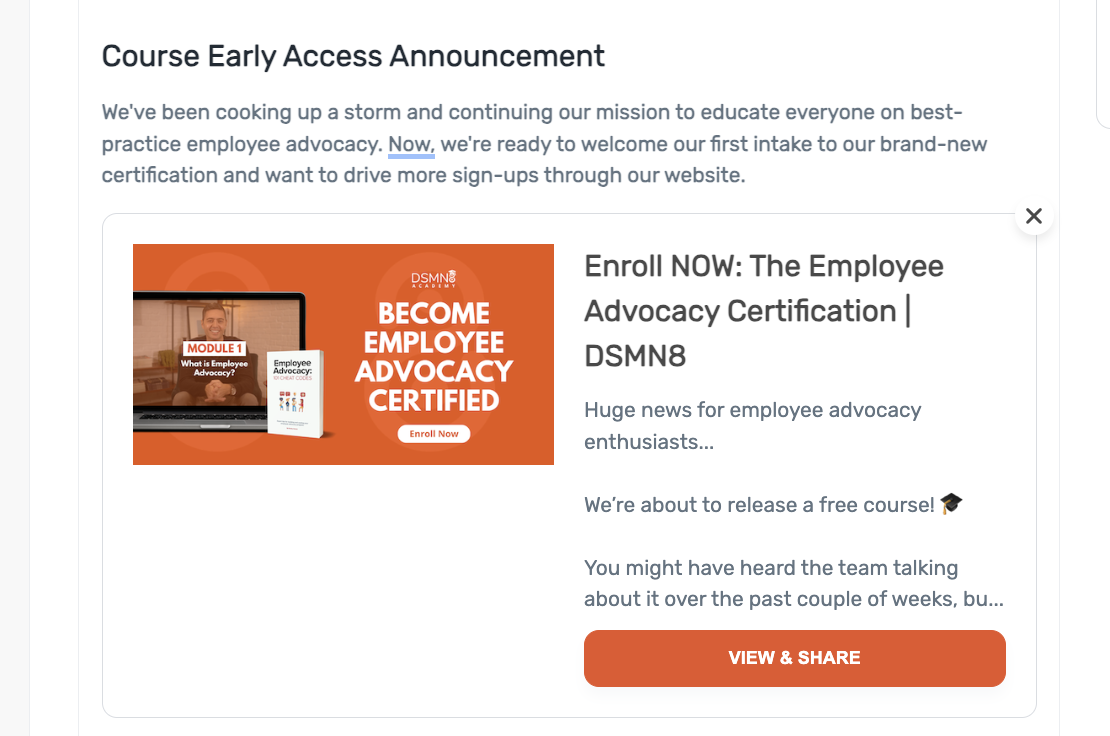
Add your post to the Newsletter. The Preview Image, Title and text will all be added automatically by the platform to make sure your post looks as good as possible when sent via email. You are able to add as many or as few posts to your Newsletter as you would like.
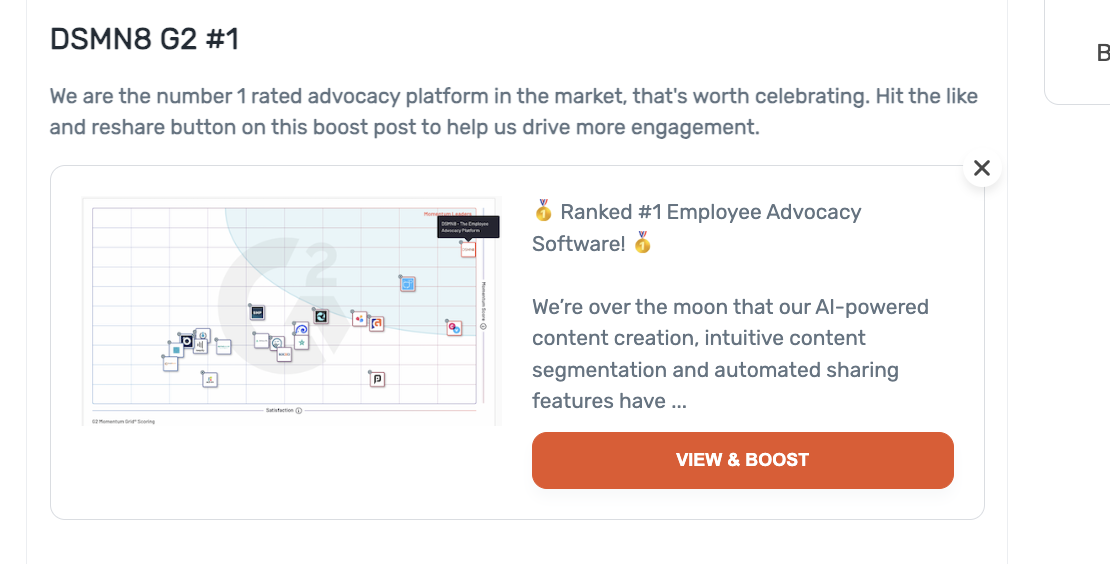
Boost Posts
Much the same as Posts, you can drag and drop Boost posts into your email Newsletter. This is a great way to highlight certain Boost posts that you would like more attention for.
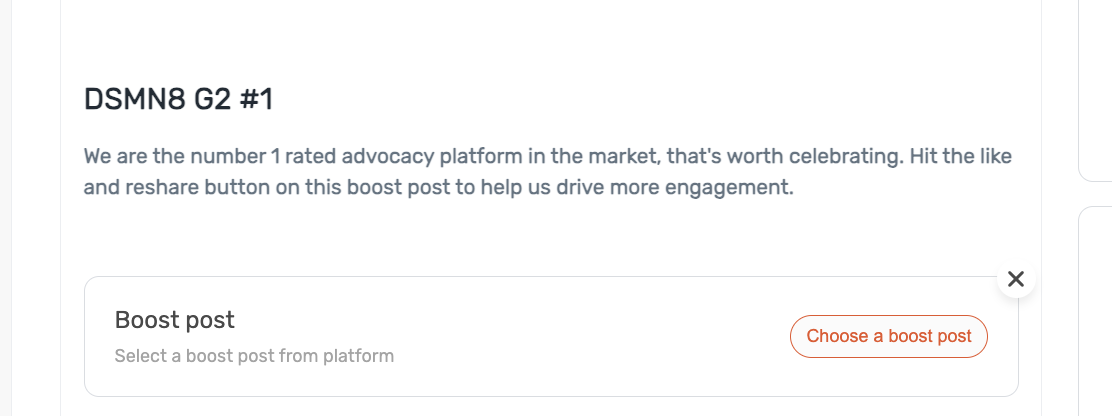
Choose the boost post you would like to add to the Newsletter.
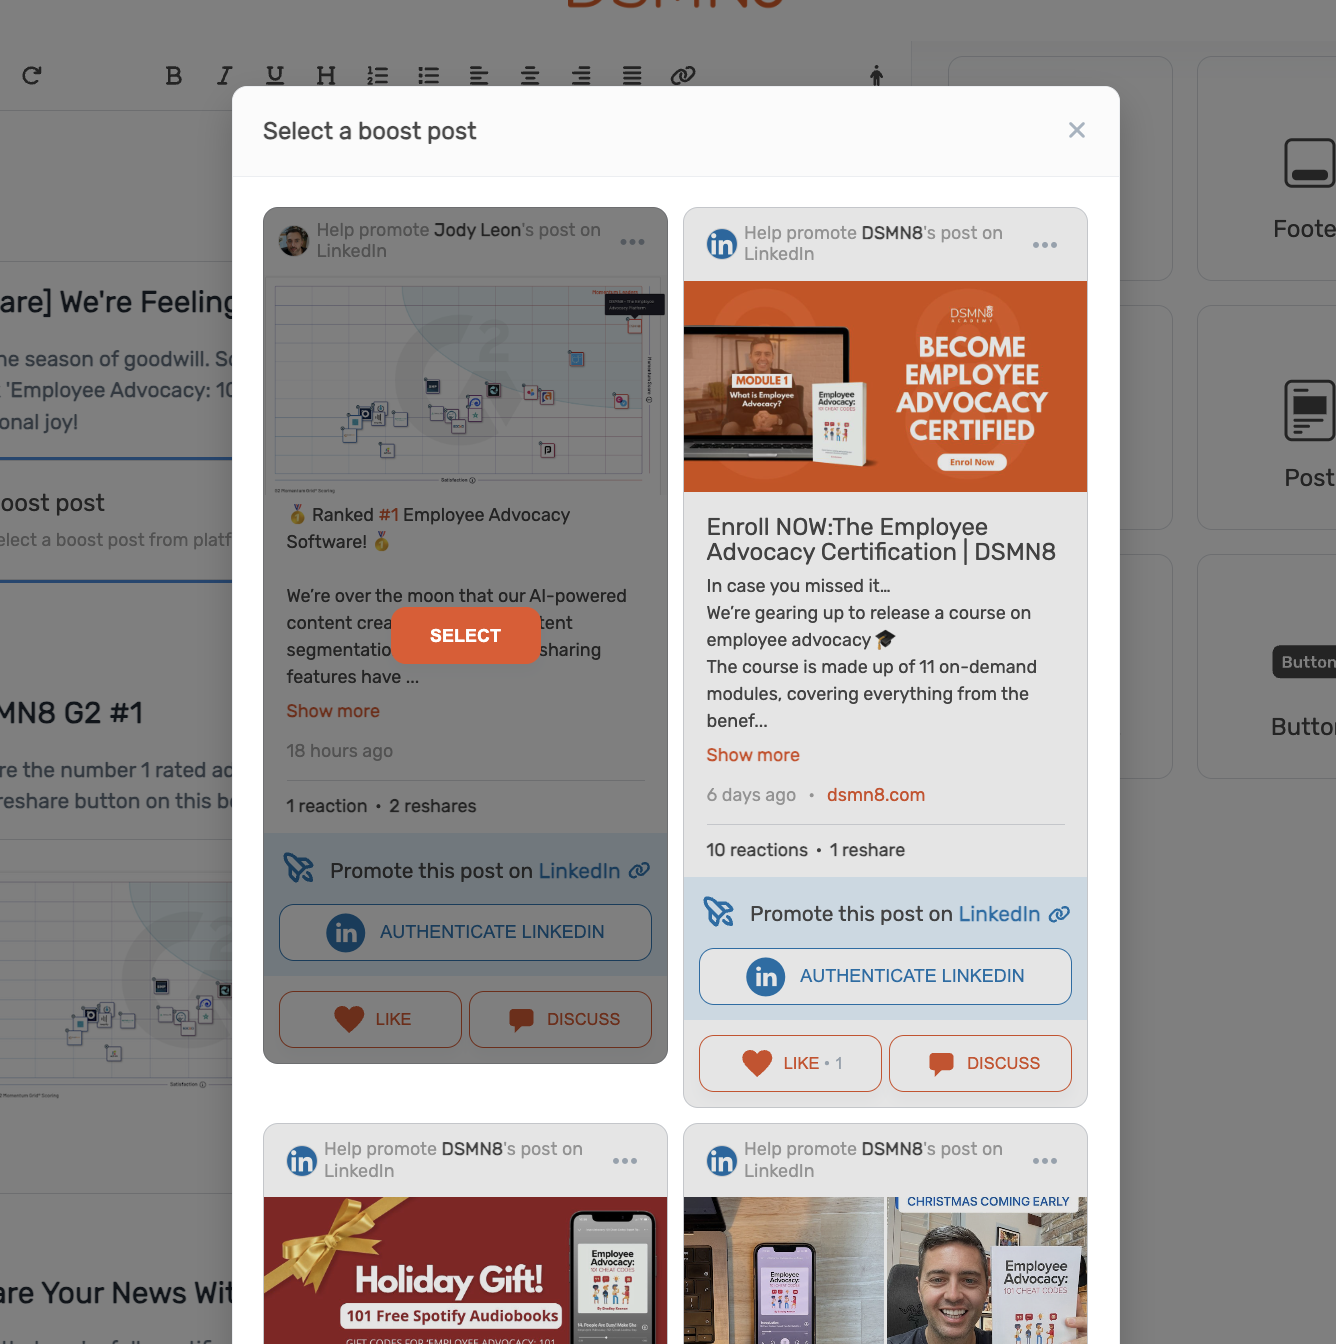
The platform will automatically populate the image and tesxt for your boost post so it looks as good as it can in your Email.
Buttons
Want to create an easy Call to Action in your Newsletter. Perhaps to encourage users to log into their DSMN8 account, or you would like them to fill out a survey or any other manner of CTAs. You can use any URL for your buttons to send your employees wherever you need.
Drag the button element into your email. From there you can set the URL for the button, the Button Title and even the alignment of your button.
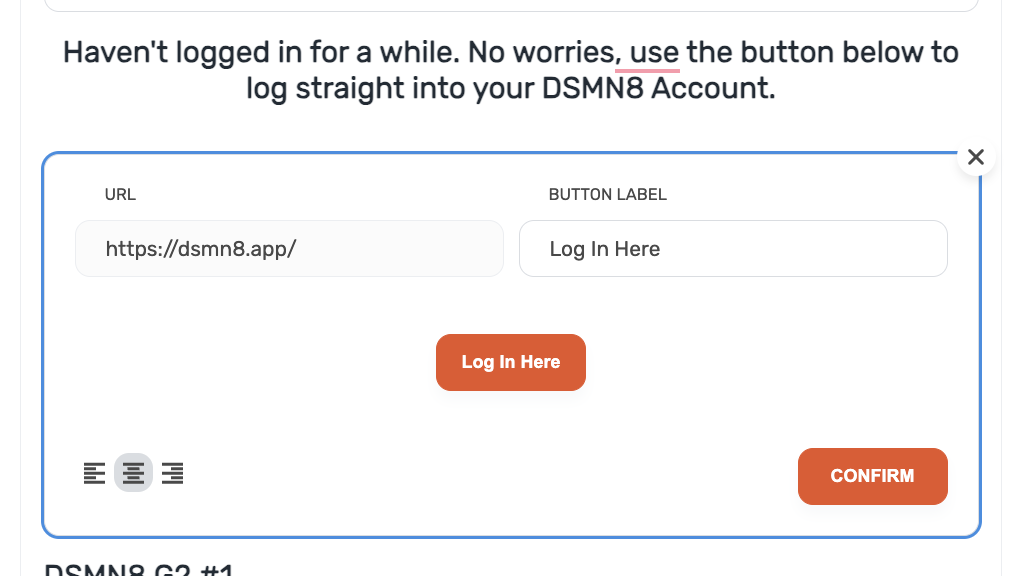
Once you press confirm, your Button will be added to your Email.
