Video Training Series
Admin Video Training
Content Sources & Pending Content (Video)
Suggesting Content (Video)
Global Settings (Video)
Internal Posts (Video)
Product Portal & Assistance (Video)
Personalization (Video)
Personal Analytics (Video)
Gamification Settings (Video)
Vanity URLs (Video)
Inviting Users (Video)
Boosting Posts (Video)
Teams and Groups (Video)
Curating Content For Employees
Pinning content (Video)
Engaging with colleagues' posts (Video)
Advocacy Tools (Video)
Getting Started With DSMN8: Training Guide Overview
FAQs
Why are images not loading on our website/app or on LinkedIn posts?
Is Employee Advocacy Right for Your Company? A Guide for Smaller Teams
How can I delete my DSMN8 account?
How do I find/search content?
Can I approve Team Leader or Curators posts before the content is published?
Why is my post private?
Is UTM Tracking added to posts?
Which types of content can be added to the platform?
How do I tag colleagues or companies?
What is a content source and how do I add one?
How do I delete content?
What is the difference between Admins, Team Leaders and Curators?
Can I boost posts from my Senior Leaders' LinkedIn accounts?
What is the difference between Teams and Groups?
Which types of content should I add to the platform?
Where is my DSMN8 registration code?
Why is my reset password email not coming through?
Why is my mobile app crashing?
Can I use auto scheduling in other social media platforms other than LinkedIn?
Why am I seeing different content in my feed compared to my colleagues?
Can I write a post for my colleagues to share?
Why is my comment or like on the post in the DSMN8 feed not showing on LinkedIn?
Latest Updates
Content Feed & Filters
Document Posts: Share PDFs, Word Docs, and PowerPoints Directly on Your Posts
X (Previously known asTwitter) Update
Expired Posts
Published Content
New Curation Update
Admins
Inviting Users & Registration Settings
Inviting Users
Domain Approval
User Approval Workflow
Onboarding Message for Teams
Custom Terms & Conditions
Gamification
User, Team & Group Management
Executive Influencers (VIPs)
Adding Teams
Restricted Access Teams
Adding Groups
Admins, Curators & Team Leaders
Mandatory Groups
Global Settings
Personal Post Settings
Share Limits Setting
Time & Region Settings
Sharing Hours
Maximum Teams
Social Settings
Global Notification Settings
Personalisation
Invite a Colleague
Newsletters
Newsletter Settings
Creating & Sending Newsletters
Newsletter Overview
Newsletter Templates Library
Newletter Analytics
Newsletter Elements
Curating Content
Video Frame Selection for Thumbnails
Curating Images
AI Assistant
Curating Link Content
Video Curation
Tagging Companies & Users in Post Captions
Curating LinkedIn Video
Personal Posts (Admin Information)
Internal Posts
Deleting Content
Boosting Posts
Draft Content
Integrations
Creating Content Sources
Adding X (Previously known as Twitter) As A Content Source
Adding Youtube As A Content Source
Adding Facebook As A Content Source
Adding LinkedIn As A Content Source
Adding An RSS Feed As A Content Source
Analytics
Company Voice Guide - AI Feature
Users
Sharing to LinkedIn
Points
Notifications Explained
Teams
Personal Posts
Sharing To X (Previously Known As Twitter)
Sharing to Facebook
LinkedIn Permissions
Connect Your LinkedIn
Smart Schedule Algorithm
Auto-Scheduling
Groups
Suggesting Content
Sharing To Other Apps
Sharing To Instagram
Claimable Rewards
Leaderboard Rewards
User Analytics
Leaderboard
- All Categories
- Admins
- Analytics
- Campaigns
Campaigns
Updated
by Elliot
Adding & Managing Campaigns
Campaigns give the ability to segment and track content by separate topics of interest or company campaigns. By adding campaigns, you can then tag content to be associated with them. See Tagging.
Tagging campaigns to content will give you the ability to take a more granular look at the content that you are curating for employees, understanding which areas may be more effective than others.
Campaigns also give you the ability to add fixed Hashtags to your content. Within the campaign creation you will be able to add Hashtags for certain campaigns. When content is then tagged with a Campaign, these hashtags will be automatically added to the post captions.
Campaigns also allow you to add an extra layer of UTM tracking to your DSMN8 platform, giving you insight into content from your Google Analytics or Marketo Dashboard on a campaign level.
Creating a Campaign
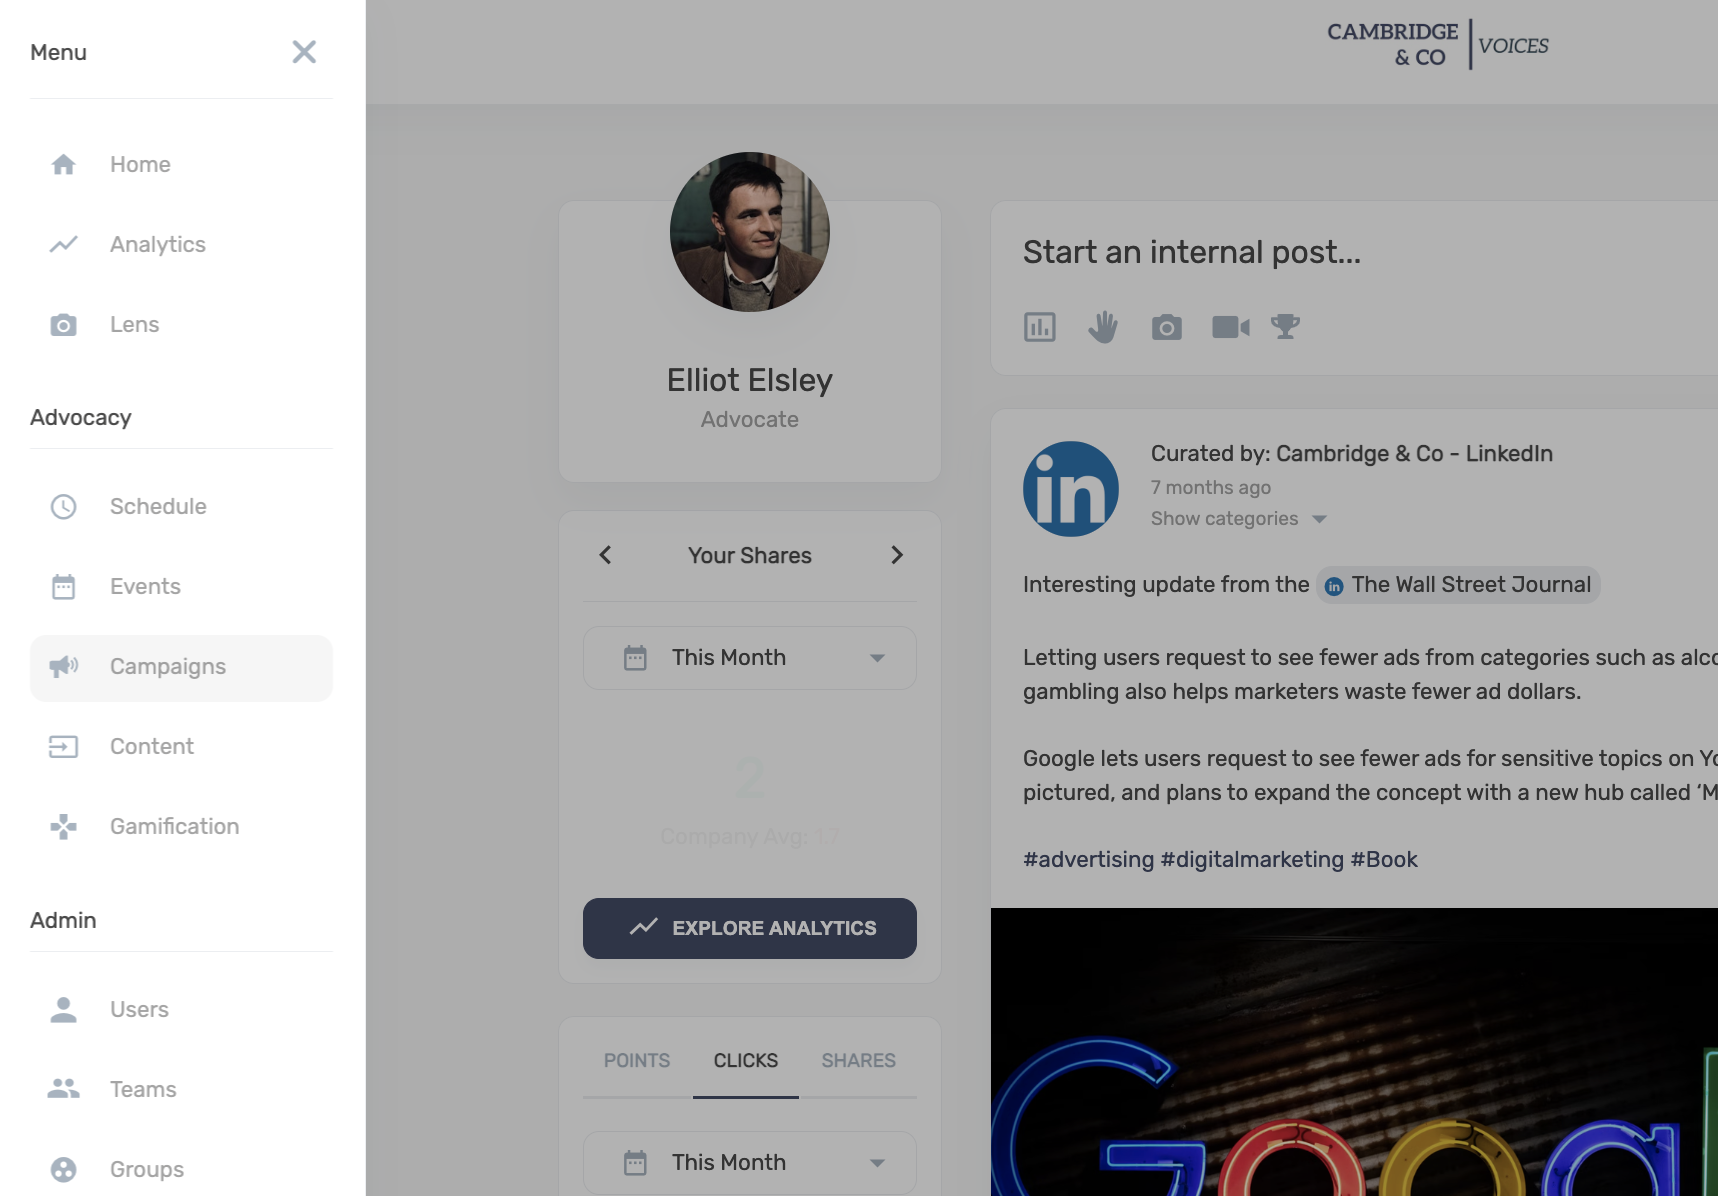
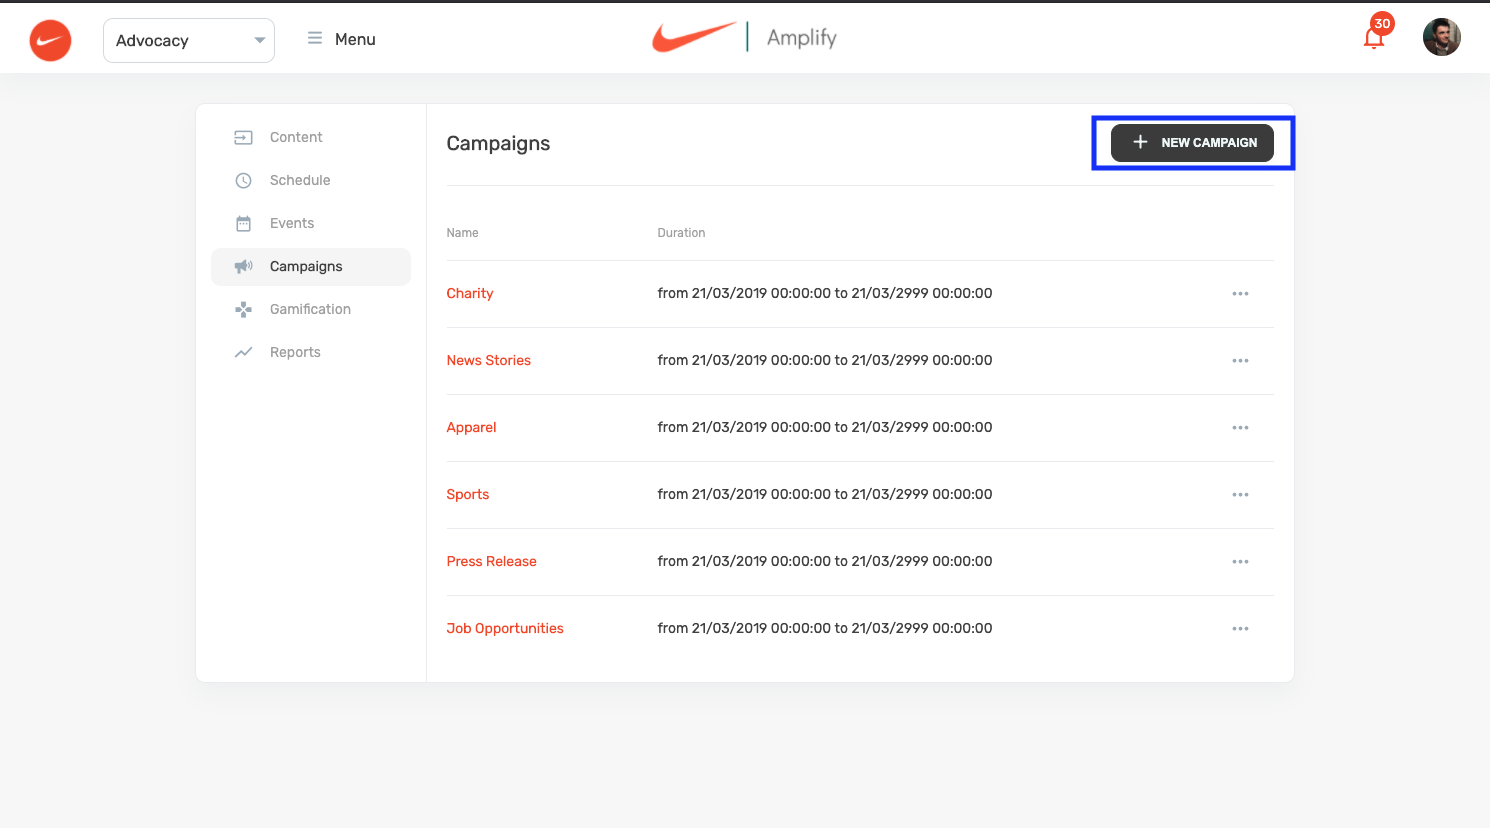
Navigate to the Campaigns option in your Advocacy Menu.

Create New Campaign.

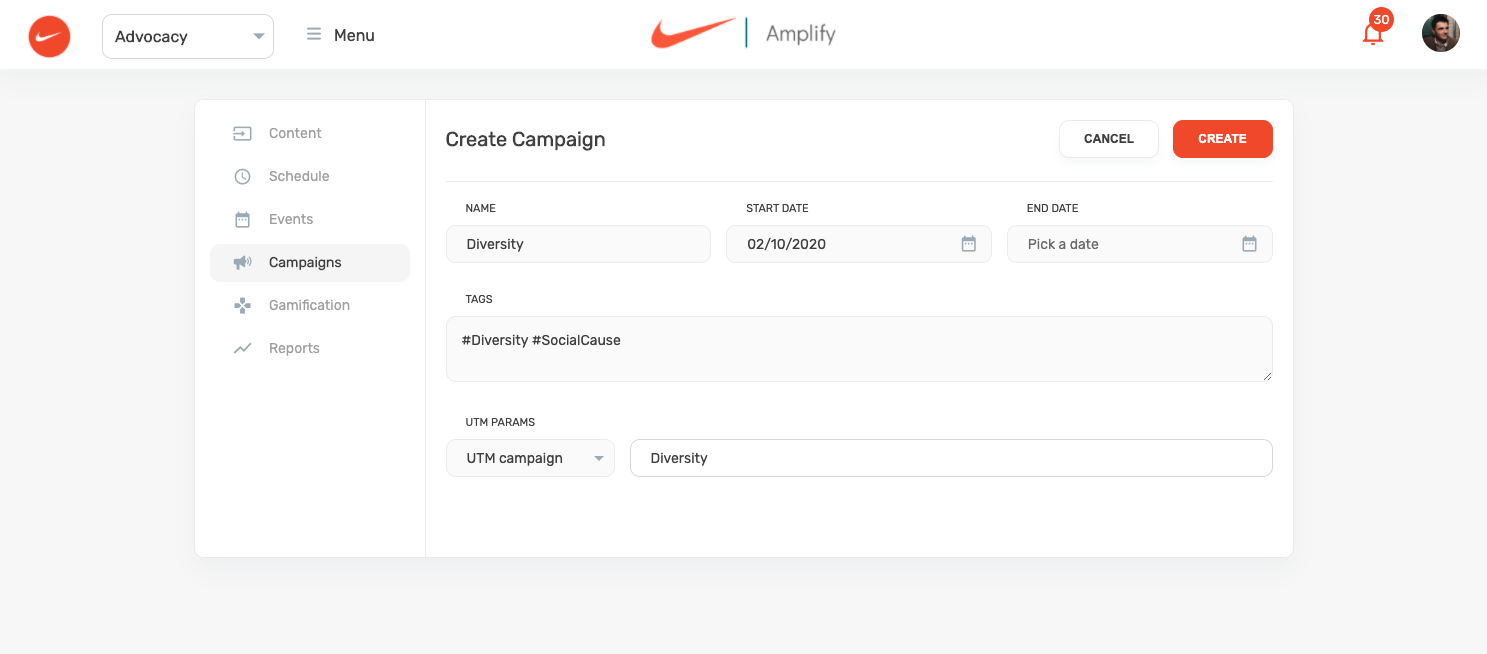
Here you can name your campaign and set the dates you would like this campaign to be available for. Note this does not require an end date.
Add any fixed Hashtags you would like to add to this campaign, remember these will be added to the post caption for the article being approved.
Add your UTM parameters. Choose your Custom UTM parameter you would like for this campaign, this will then be visible in your Google Analytics or Marketo Dashboards.

